
Cross-browser flare lens effect using javascript
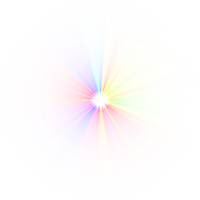
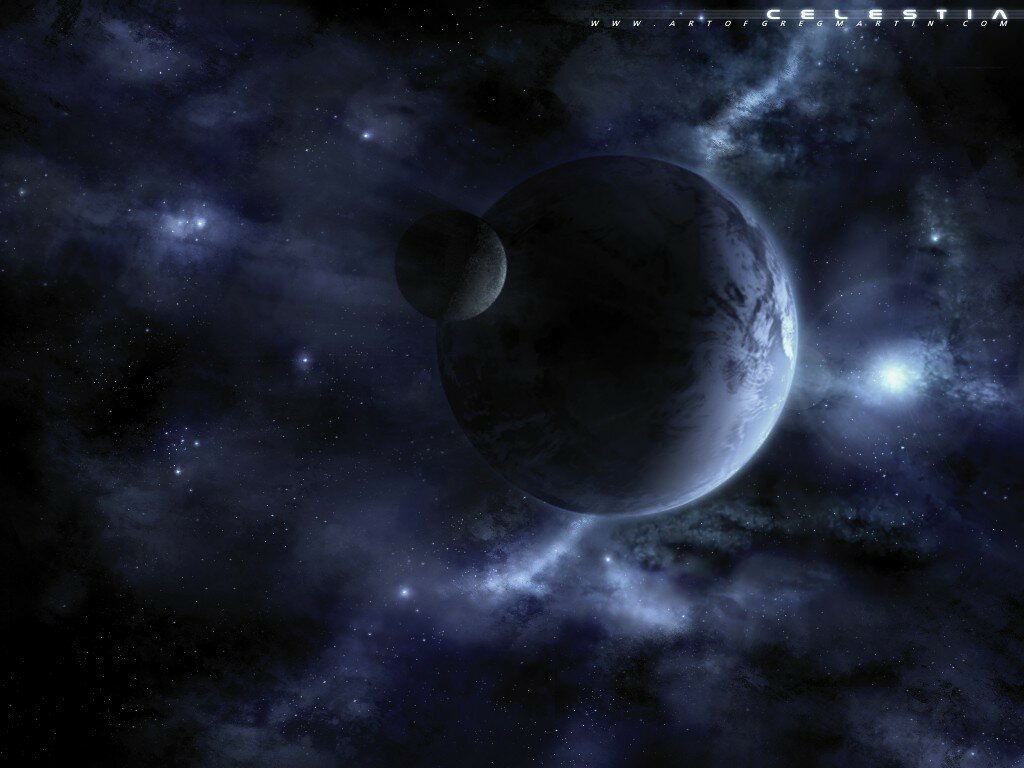
Today’s lesson pretty entertaining, we’ll learn how to make a flare lens effect. I hope you know what it is, but if not – just look our online demo. To achieve this effect, we need several images – lenses. These lenses will in 3 different colors (for a more nice result.) One of the lenses will simulate the brightest object of our composition (star). But it could also be the sun (for example). And, for greater interactivity – we will change the lens when moving the mouse.
Here are samples and downloadable package:
Live Demo
download in package
Ok, download the example files and lets start coding !
Step 1. HTML
As usual, we start with the HTML. This is source code of our sample:
index.html
<html>
<head>
    <title>Flare lens effect</title>
    <link rel="stylesheet" type="text/css" href="css/main.css" />
    <script type="text/javascript" src="js/main.js"></script>
</head>
 <body>
    <img id="bg" src="images/background.jpg" />
    <div id="main_area">
        <img id="l1" class="transp" src="images/l1.png" />
        <img id="l2" class="transp" src="images/l2.png" />
        <img id="l3" class="transp" src="images/l3.png" />
        <img id="l4" class="transp" src="images/l2.png" />
        <img id="l5" class="transp" src="images/l1.png" />
        <img id="l6" class="transp" src="images/l2.png" />
        <img id="l7" class="transp" src="images/l3.png" />
        <img id="l8" src="images/flare1.png" style="position:absolute" />
    </div>
 </body>
</html>
Here, we will have some image on our background (space), 7 transparent lens, and one most bright flare image (flare1.png).
Step 2. CSS
Here are single CSS file with all necessary styles:
css/main.css
html {overflow:hidden}
body{margin:0;padding:0}
#bg{
    width:100%;
    position:absolute;
    top:0;
    left:0;
}
#main_area {
    position:relative;
    height:100%;
}
.transp {
    filter:alpha(opacity=20);
    opacity:0.2;
    left:-1000px;
    position:absolute;
}
Step 3. JS
Here are our main Javascript:
js/main.js
var lfeff = {

    // variables
    cx:0,
    cy:0,
    lx:0,
    ly:0,
    px:0,
    py:0,
    mobj:0,
    max:400,

    // initialization
    init : function() {
        this.mobj = document.getElementById('main_area');
        this.resize();
        this.lx = this.cx / 2;
        this.ly = this.cy / 2;
    },

    // refreshing mouse positions
    mousemove : function(e) {
        if (window.event) e = window.event;
        this.lx = (e.x || e.clientX);
        this.ly = (e.y || e.clientY);
    },

    // window resizing
    resize : function() {
        lfeff.cx = lfeff.mobj.offsetWidth  * 0.5;
        lfeff.cy = lfeff.mobj.offsetHeight  * 0.5;
    },

    // main draw lens function
    draw : function() {
        lfeff.px -= (lfeff.px - lfeff.lx) * .1;
        lfeff.py -= (lfeff.py - lfeff.ly) * .1;

        lfeff.drawLens('l1', 0.7, 1, 0, 0);
        lfeff.drawLens('l2', 0.5, 2, 0, 0);
        lfeff.drawLens('l3', 0.3, 3, 0, 0);
        lfeff.drawLens('l4', 0.2, 10, 0, 0);
        lfeff.drawLens('l5', 0.7, -1, 0, 0);
        lfeff.drawLens('l6', 0.5, -2, 0, 0);
        lfeff.drawLens('l7', 0.3, -3, 0, 0);
        lfeff.drawLens('l8', 1.0, -0.7, 0, 0);

        // looping current function
        setTimeout(lfeff.draw, 24);
    },

    // draw each lens function
    drawLens : function(id, scale, distance, x, y) {
        var vx = (this.cx - this.px) / distance;
        var vy = (this.cy - this.py) / distance;
        var d = this.max * scale;
        css = document.getElementById(id).style;
        css.top = Math.round(vy - (d * 0.5) + this.cy + y) + 'px';
        css.left = Math.round(vx - (d * 0.5) + this.cx + x) + 'px'
        css.width = Math.round(d) + 'px'
        css.height = Math.round(d) + 'px'
    }
}

window.onload = function() {
    // initialization
    lfeff.init();

    // start
    lfeff.draw();

    // binding onmousemove event
    document.onmousemove = function(e) {
        if (window.event) e = window.event; // for IE
        lfeff.mousemove(e);
    }

    // binding onresize event
    window.onresize = lfeff.resize();
}
It is rather simple. When the page loads – I initialize our main object, and link all the necessary events. Then, after initialization, I loop our main ‘draw’ function, which changing positions of our transparent lens while we moving our mouse.
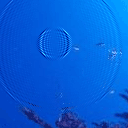
Step 4. Images
For our demo I used only one image:


Live Demo
download in package
Conclusion
Today I told you how to create easy flare lens effect to images. Commonly – you can try to play with our JS file to get different results. Hope our javascript lessons still interesting for you. Good luck!


very cool & amzing js effect, thank you very much for sharing.
That is an amazing tutorial! The effects are great. Thanks.