
Multiple backgrounds with CSS3 and a little of animation. In CSS3 appear new possibility to use multiple backgrounds for the objects, in our new article I will demonstrate how to do it. And, I going to add a bit of JS code for simple animation (to make it not so boring). Commonly, it is very easy to apply multiple backgrounds – we just need to list them (separated by commas) in the object properties.
Here are samples and downloadable package:
Live Demo
[sociallocker]
download in package
[/sociallocker]
Ok, download the example files and lets start coding !
Step 1. HTML
As usual, we start with the HTML. This is source code of our sample:
index.html
<html>
<head>
    <title>Multiple backgrounds with CSS3 and a little of animation</title>
    <link rel="stylesheet" type="text/css" href="css/main.css" />
    <script type="text/javascript" src="js/main.js"></script>
</head>
 <body>
    <div class="example">
        <div id="main_object"></div>
    </div>
 </body>
</html>
Nothing special, just <div id="main_object"></div> inside
Step 2. CSS
Here are single CSS file with all necessary styles:
css/main.css
body{background:#eee;margin:0;padding:0}
.example{background:#FFF;width:950px;border:1px #000 solid;margin:20px auto;padding:15px;-moz-border-radius: 3px;-webkit-border-radius: 3px}
#main_object{
    position:relative;width:950px;height:700px;overflow:hidden;cursor:pointer;
    background-image: url(../images/layer1.png), url(../images/layer2.png), url(../images/layer3.png), url(../images/bg.jpg);
    background-position: center bottom, right top, right bottom, left top;
    background-repeat: no-repeat;
}
Here, you can see way how I pointing these several backgrounds to our main element – all comma separated. Same and for ‘background-position’ too. Of course, if you want – you always can use use ‘background’ property to set all necessary styles, in this case – you can enum your properties in same way, separating values with commas, example:
background: url(../images/layer1.png) no-repeat center bottom, url(../images/layer2.png) no-repeat right top, url(../images/layer3.png) no-repeat right bottom, url(../images/bg.jpg) no-repeat left top;
}
Step 3. JS
Here are a little of JS for our animation:
js/main.js
var ex76 = {
    // variables
    l1w  : 358, // layer 1 width
    l1h  : 235, // layer 1 height
    l2w  : 441, // layer 2 width
    l3w  : 307, // layer 3 width
    // inner variables
    obj  : 0,
    xm   : 0,
    ym   : 0,
    x1 : 0,
    y1 : 0,
    x2 : 0,
    x3 : 0,
    // initialization
    init : function() {
        this.obj = document.getElementById('main_object');
        this.x2 = this.obj.clientWidth;
        this.x3 = -this.l3w;
        this.run();
    },
    // refreshing mouse positions
    mousemove : function(e) {
        this.xm = e.clientX;
        this.ym = e.clientY;
        // recalculation new positions
        this.x1 = this.xm - this.obj.offsetLeft - ex76.l1w/2;
        this.y1 = this.ym - this.obj.offsetTop - ex76.l1h/2;
    },
    // loop function
    run : function() {
        // shifting second layer object to left
        ex76.x2--;
        if (ex76.x2 < -ex76.l2w) ex76.x2 = ex76.obj.clientWidth;
        // shifting second layer object to right
        ex76.x3++;
        if (ex76.x3 > ex76.obj.clientWidth) ex76.x3 = -ex76.l3w;
        // updating background-position value with new positions
        ex76.obj.style.backgroundPosition = ex76.x1 + 'px ' + ex76.y1 + ', ' + ex76.x2 + 'px top, ' + ex76.x3 + 'px bottom, left top';
        // loop
        setTimeout(ex76.run, 20);
    }
};
window.onload = function() {
    ex76.init(); // initialization
    // binding mouse move event
    document.onmousemove = function(e) {
        if (window.event)
            e = window.event;
        ex76.mousemove(e);
    }
}
This is pretty easy – for second and third layer – I changing its X positions (by cycle), for first layer – I changing its position in place where located our mouse.
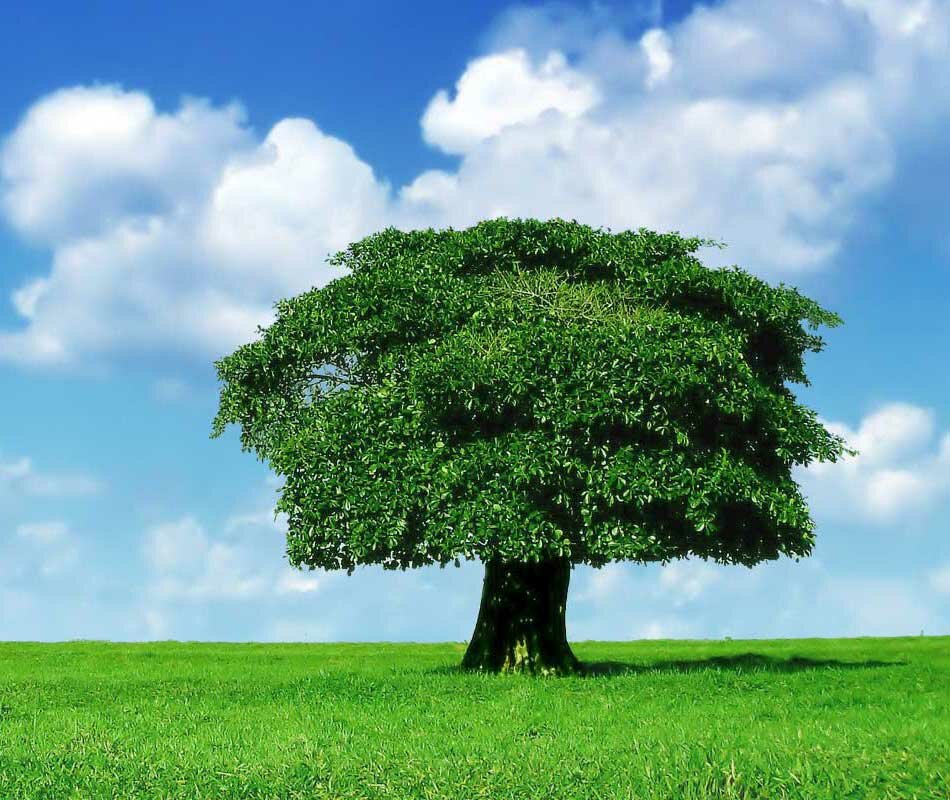
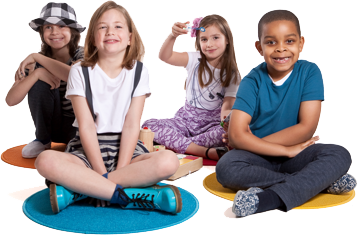
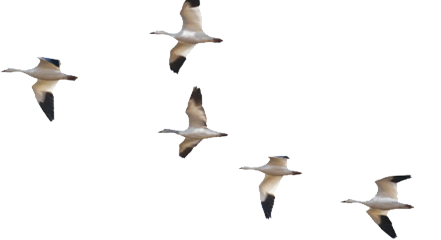
Step 4. Images
Also we need several images for our demo (for different layers):


Live Demo
Conclusion
Today I told you how you can assign several images as background for single element. Hope that our demo gave you some ideas. Here are another application of this, you can create custom controls (buttons as example) with custom background, as example rounded buttons. You will need just set 2-3 layers (for beginning, center and end of button). Good luck!


You tutorial is excellent and quite in derived oriented for everybody who are in the field of designing especially. You have defined very easy steps to apply multiple backgrounds. cheers mate.
Nice tutorial! I wish it worked without javascript though…