Froala WYSIWYG Editor
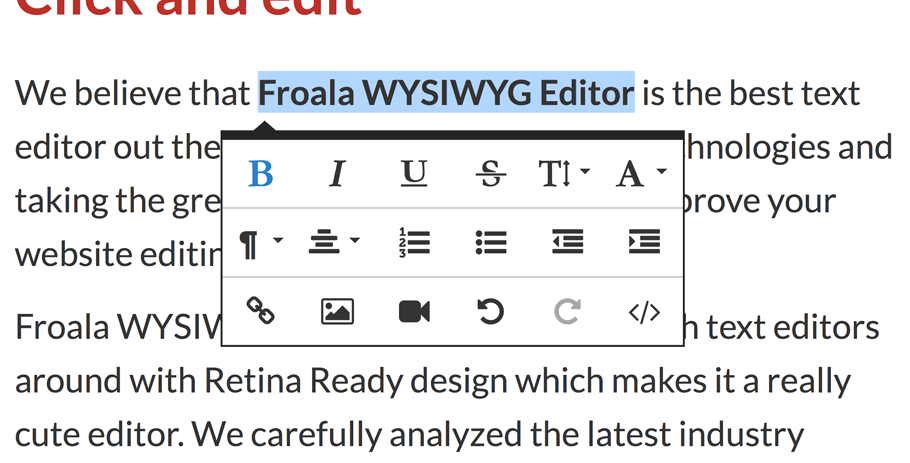
Froala Editor is a lightweight WYSIWYG rich text editor with a nice flat design. It is the first WYSIWYG editor with image resize that works even on mobile devices.
The editor covers a lot of functionalities through the default buttons, but we may sometimes need to add in another behaviour. The goal of this tutorial is to add two custom buttons: a button to clear all the HTML in the editable area and one to insert a specific HTML next to the cursor.
Froala WYSIWYG Editor is an easy to include and easy to use plugin. It requires jQuery 1.10.2 or higher and the iconic font named Font Awesome. So the following lines are all you need in order to use this plugin on your website:
<!DOCTYPE html>
<html>
    <head>
        <link href="../css/font-awesome.min.css" rel="stylesheet" type="text/css"
        <script src="http://code.jquery.com/jquery-1.10.2.js"></script>
        <link href="../css/froala editor.min.css" rel="stylesheet" type="text/css">
        <script src="../js/froala editor.min.js"></script>
    </head>
    <body>
        <!-- To add the editor on your website all you need is a line of HTML -->
        <div id=”edit”></div>
    </body>
</html>
Now just call the editable method and the editor will be initialized:
<script>
    $(function() {
        $('#edit').editable()
    });
</script>
At this point we can write and edit anything we want inside the editable area. A popup with the default editing options will appear as you type or when you select the text you want to edit (customizable through ‘alwaysVisible’ option). This is called inline editing. We can also use a basic editor that always keeps a toolbar at the top. To do this just disable inline mode when you initialize the editor:
<script>
    $(function() {
        $('#edit').editable({inlineMode: false})
    });
</script>
The buttons can be easily customized by choosing which of them appear in the editor, changing the way they are grouped or even create our own buttons. This can be done by using the ‘customButtons’ and ‘buttons’ options. The ‘customButtons’ option is a JSON that defines the new buttons. This is how a button definition should look like:
buttonName: {
  title: 'Title',
  icon: {
    type: 'icon-type',
    value: 'icon-value'
  },
  callback: function (editor) {
  }
}
– title is the tooltip that appears when you go with mouse over a button. If you are using a translation, you have to make sure that you add it to the translation array of the language you are using.
– icon is the icon of the button. It has two properties that need to be set:
- type can be one of the following options: font (Font Awesome Icon), txt (simple text) or img (image).
- value has to be a Font Awesome class for font (fa fa-*), a character for txt or an URL to for img.
– callback is the function that will be called when the button is hit. It will get the editor instance as argument.
After we define the new buttons through the ‘customButtons’ JSON, we have to include their name in the ‘buttons’ option in the position where we want them to be placed:
<script>
    $(function() {
        $('#edit').editable({
            // Define custom buttons.
            customButtons: {
              // Clear HTML button with text icon.
              clear: {
                title: 'Clear HTML',
                icon: {
                  type: 'font',
                  value: 'fa fa-times'
                },
                callback: function (editor){
                  editor.setHTML('');
                }
              },
              // Insert HTML button.
              insertHTML: {
                title: 'Insert HTML',
                icon: {
                  type: 'txt',
                  value: '+'
                },
                callback: function (editor){
                  // Focus on editor if it's not.
                  if (!editor.selectionInEditor()) {
                    editor.$element.focus();
                  }
                  // Insert HTML.
                  editor.insertHTML('My new HTML');
                  // Save HTML in undo stack.
                  editor.saveUndoStep();
                }
              }
            },
            // Set what buttons to display with separator between them. Also include the name
            // of the buttons  defined above in 'customButtons'.
            buttons: ['undo', 'redo' , 'bold', 'sep', 'clear', 'insertHTML']
        })
    });
</script>
[sociallocker]
Live Demo
download Froala Editor
[/sociallocker]


