
Image zoom with imageLens. Today we will continue our jQuery tutorials. And today we will talk about image zoom tools. During investigation, I was able to locate imageLens jQuery plugin. This is nice image zooming tool. It looks like round lens and have very easy initialization. Of course, I saw many another libraries too, but they was a little ugly, more like squares than the magnifying glass. I like this plugin, hope that you will like it too. And I sure that this is time to try demo.
Here are samples and downloadable package:
Live Demo
[sociallocker]
download in package
[/sociallocker]
Ok, download the example files and lets start coding !
Step 1. HTML
As usual, we start with the HTML. This is source code of our sample:
index.html
<link rel="stylesheet" href="css/main.css" type="text/css" />
<script src="js/jquery-1.5.2.min.js"></script>
<script src="js/jquery.imageLens.js"></script>
<script src="js/main.js"></script>
<div class="example">
    <h3><a href="#">imageLens samples</a></h3>
    <img id="img_01" src="data_images/img1.jpg" width="350" height="262" />
    <img id="img_02" src="data_images/img2.jpg" width="350" height="262" />
    <img id="img_03" src="data_images/img3.jpg" width="350" height="262" />
    <img id="img_04" src="data_images/img4.jpg" width="350" height="262" />
</div>
As I hope – all clean here, no need explain it. Here are just main page with 4 images inside.
Step 2. CSS
Here are single CSS file with all necessary styles:
css/main.css
body{background:#eee;margin:0;padding:0}
.example{background:#FFF;width:800px;border:1px #000 solid;margin:20px auto;padding:15px;-moz-border-radius: 3px;-webkit-border-radius: 3px}
.example img {margin:22px}
Step 3. JS
Here are all JS files:
js/main.js
$(document).ready(function(){
    $('#img_01').imageLens(); // default initialization
    $('#img_02').imageLens({ lensSize: 200 }); // set lens size
    $('#img_03').imageLens({ lensSize: 200, imageSrc: 'data_images/img5.jpg' }); // lens size + custom image
    $('#img_04').imageLens({ borderSize: 8, borderColor: '#f00' }); // new border size and color
});
Everything is quite easy – when the page loads I perform initialization of imageLens plugin for each image. Each image will have different lens properties. Default lensSize is 100, size – 4, and color – #888. Of course, if you don`t going to use different lens on your set of images and want single – you can just change jquery selector.
js/jquery-1.5.2.min.js and js/jquery.imageLens.js
This is necessary libraries – jQuery and imageLens. Available in our package.
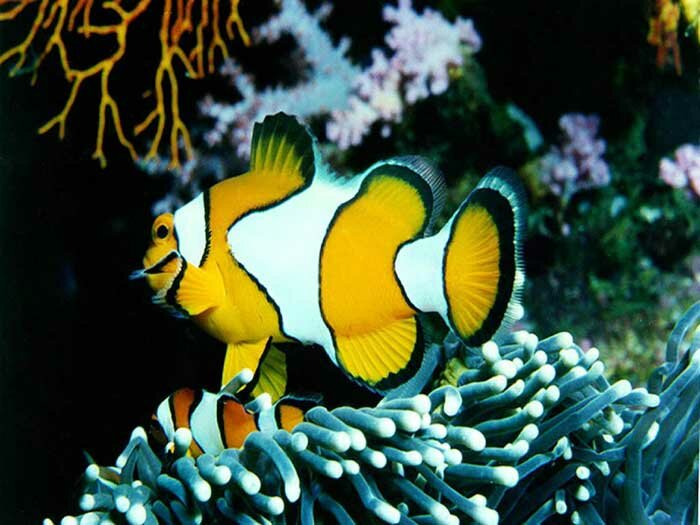
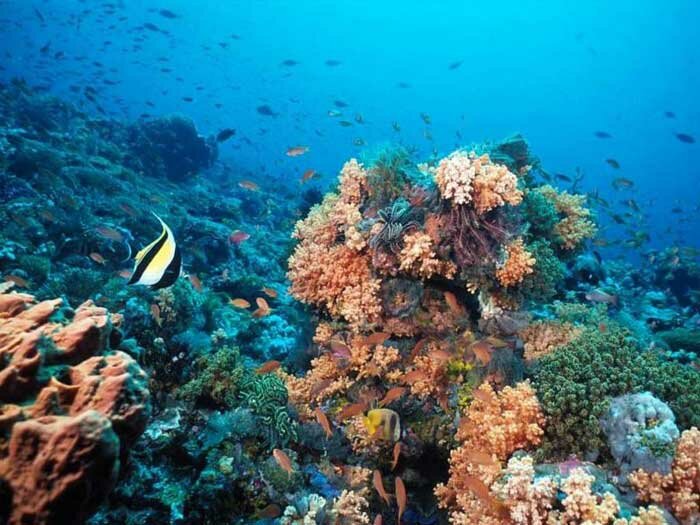
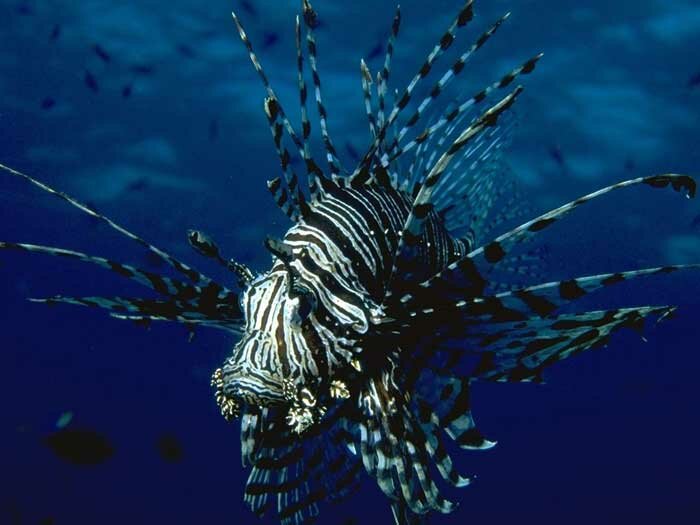
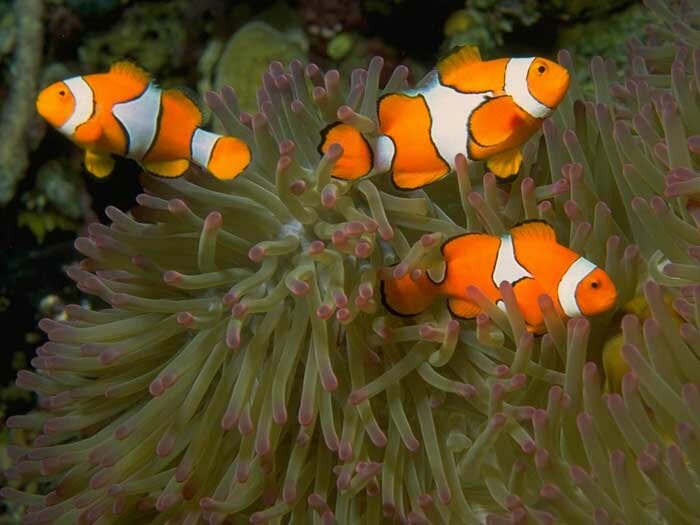
Step 4. Images
All our images located in ‘data_images’ folder:
Live Demo
Conclusion
Today I told you how to implement Lens-looking image zoomer. Sure that you will happy to use it in your projects. Good luck!


Hi,
Very useful plugin. I have a problem though: a search gives results in a dynamic table with images in it. The images vary each time and the number of images in the table also vary. How do I modify the main.js to allow the zooming for each and every image in the table. I am relatively new to php and am spending time learning and testing these days before I start something serious. I need to use this tool. Thanks for your reply.
Hello Bianca,
As I see – you will need to re-initialize this for every your image after you received them.
so mainly – you will need not to use my main.js, but add that code to output of generation of your dynamic table
Any suggestions for how to make this work on the iPad?
Hello Carla,
I think that this possibility should be given by the original plugin first, right? Unfortunately, by default there is no such opportunity
Do you think this can be updated to work on touch devices (iPad etc)?
That would be wonderful!