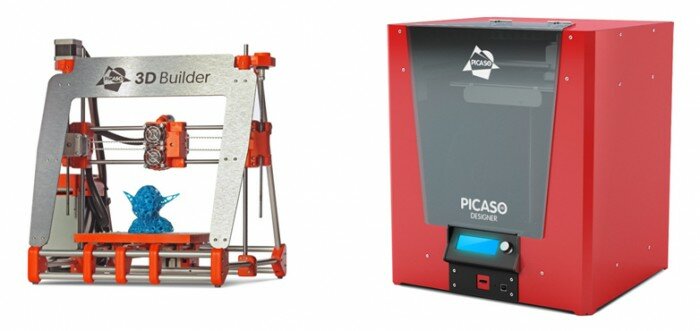
3D shapes (models) printing. Many of you have probably already heard about 3D printing technology, however, not everyone knows all the details about how this is done in practice. We will look at the entire process – from the creation of three-dimensional model to its practical printing on 3D printer. To make a 3D-model or to print a ready one on the 3D-printer, you just have to follow the instructions. No skills and abilities required.
- The first thing we need to decide where we will make our 3D-model. Your choice – any package of 3D-modeling. Here is a brief list of programs that you can use:
Blender (free)
Google SketchUp (free)
Openscad (free)
FreeCad (free)
AutoCad
3DS Max
Maya
Rhinoceros 3D
SolidWorks
Sculptris
The main requirement – export format for 3D-printing – *.stl
However, the simplest way – is to model directly from your browser using the following services:
https://tinkercad.com/
http://www.3dtin.com/
http://tridiv.com/
https://www.tinkercad.com
There are many analogues in the Internet. We will try for the first time www.tinkercad.com as the most simple and fast.
- Now, go to the website (tinkercad.com)
- Then there is a button at the top right. Click «sign up for free account».
- Log in and install the plug-in, if it is not already installed
- click on the button “Create a new design”:
- The editor appears:
- Drag the cube on the field:
- To navigate, you can use the right and middle mouse button or the navigation bar on the left:
- Now we need to make any 3D-model by dragging cubes. Here you will need to use your imagination:
- After this, select everything
- Click the button “Group”:
- Here, this model is ready for printing:
- The most important thing is save your model. Click the button Design.
- Download for 3d printing.
- Choose save as .stl:
- Now we have file ready to print. If you do not have 3D-printer, you can search nearby 3D- print services.
- It so came about, that we have 3D printer ‘PICASO 3d designer’ and software for it – ‘Polygon’. This printer (and software) was produced in Russia, so our other screenshots were made in interface with Russian language. To avoid any confusion, we highlighted all the necessary (to select) elements. Now, run the program:
- Scale the item for saving materials and time
- Prepare the job:
- From the settings menu set more speed, everything else is the default. Click start preparation
- The computer thinks a little and gives us the results:
- Save the job to the microSD flash drive
- Insert the flash drive into the printer
- Choose Menu->SD card
- Select the file, and send to print.
- Our first 3d model is ready


